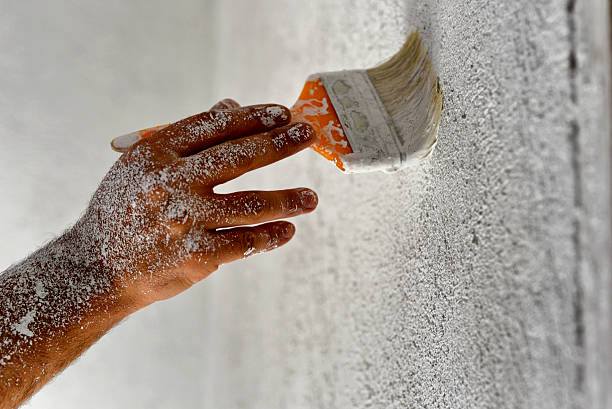
Drywall installation is a critical component in modern construction, offering a seamless and durable finish for interior walls and ceilings. Whether you’re a DIY enthusiast or a contractor, understanding the steps and best practices for drywall installation ensures a professional result.
What is Drywall?
Drywall, also known as plasterboard or sheetrock, is a panel made of gypsum sandwiched between two thick sheets of paper. It is widely used in construction due to its affordability, ease of installation, and versatility. Drywall can be used for various applications, including creating walls, ceilings, and even decorative elements.
Tools and Materials Needed for Drywall Installation
Before you begin, gather the following tools and materials:
-
Drywall sheets
-
Measuring tape
-
Utility knife
-
Drywall screws
-
Screw gun or drill
-
Drywall saw
-
T-square
-
Joint tape
-
Joint compound
-
Sanding block
-
Ladder or scaffolding
Steps for Installing Drywall
1. Measure and Cut the Drywall
Measure the dimensions of the wall or ceiling and mark the drywall sheets accordingly. Use a utility knife to score the paper surface and snap the drywall along the cut line. For intricate cuts, such as around outlets or windows, use a drywall saw for precision.
2. Secure the Drywall to Studs
Position the drywall sheet against the wall studs and secure it with drywall screws. Place screws every 12 to 16 inches along the studs to ensure stability. Be careful not to drive the screws too deep, as this can damage the drywall surface.
3. Apply Joint Tape and Compound
Once all the sheets are installed, use joint tape to cover the seams between them. Apply a thin layer of joint compound over the tape, ensuring it is smooth and even. Allow it to dry completely before applying additional layers. Typically, three layers of compound are needed for a flawless finish.
4. Sand and Smooth the Surface
After the joint compound has dried, sand the surface using a sanding block to achieve a smooth finish. Be sure to wear a mask during this step to avoid inhaling dust particles. Inspect the surface for imperfections and make any necessary touch-ups.
5. Prime and Paint
Finally, apply a primer to the drywall to prepare it for painting. Once the primer is dry, paint the walls or ceiling with your desired color.
Common Challenges in Drywall Installation
While drywall installation is relatively straightforward, certain challenges may arise, such as:
-
Uneven seams: Proper sanding and multiple layers of joint compound can address this issue.
-
Cracks or dents: These can occur during installation or over time. In such cases, drywall repair is essential to restore the surface.
-
Misaligned screws: Ensure screws are properly aligned with the studs to prevent loose drywall sheets.
Tips for a Successful Drywall Installation
-
Use a T-square for accurate cuts and measurements.
-
Work with a partner to handle large drywall sheets safely.
-
Keep your tools clean to prevent debris from affecting the finish.
Maintaining Drywall
Over time, drywall may require maintenance due to wear and tear. Minor damages, such as small holes or cracks, can be fixed with basic drywall repair techniques. For larger issues, consider consulting a professional to ensure a seamless result.
Conclusion
Drywall installation is a skill that, when mastered, can significantly enhance the aesthetics and functionality of your living space. By following the proper steps and being mindful of common challenges, you can achieve a professional-grade finish. Additionally, knowing how to perform drywall repair ensures your walls and ceilings remain in excellent condition for years to come. Whether you tackle the project yourself or hire a contractor, investing in quality materials and techniques will always pay off.


Leave a Reply