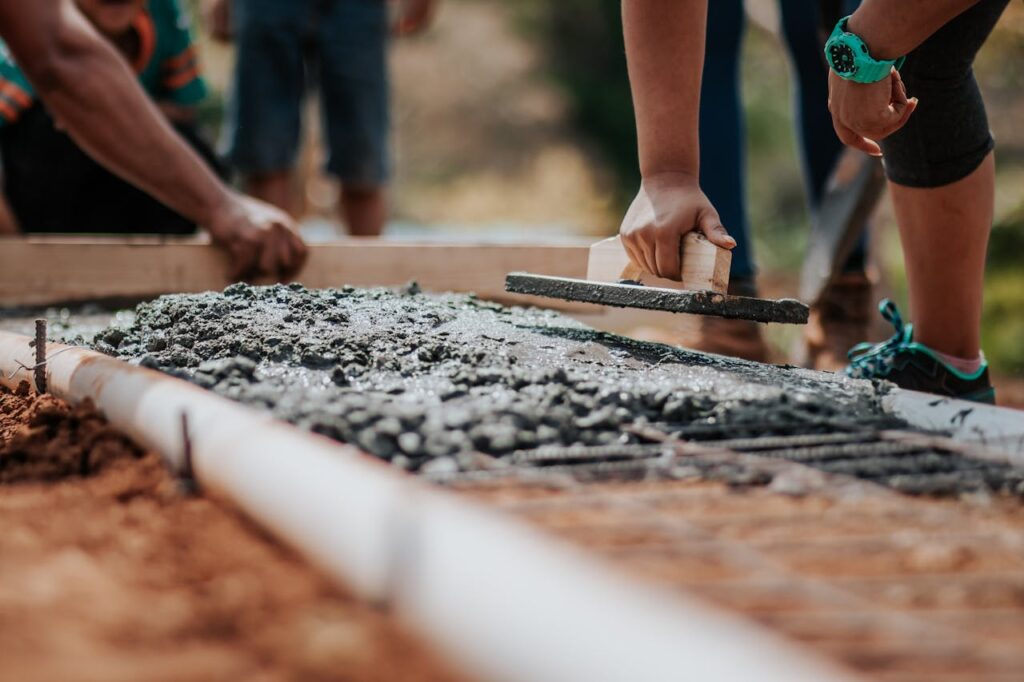
Cracked sidewalks are a common sight in American neighborhoods. From harsh weather cycles to settling foundations, these imperfections are not only unsightly but can also pose safety hazards. Whether it’s a fix concrete cracks or a trip hazard, addressing them promptly is crucial. Here at Hi-Tech Construction NY, we understand the importance of maintaining safe and aesthetically pleasing walkways.
This comprehensive guide dives into everything you need to know about concrete sidewalk repair in the USA, empowering you to tackle those cracks with confidence.
Understanding the Types of Cracks and Their Causes
Not all cracks are created equal. Recognizing the type and its cause helps determine the best repair approach. Here’s a breakdown of the most common types:
- Hairline cracks: These are thin cracks, usually less than ¼ inch wide, often caused by surface drying or minor settling. They may be unsightly but pose minimal structural risk.
- Settlement cracks: These wider cracks (¼ inch to 1 inch) occur when the underlying soil shifts or compacts. They can be a sign of foundation problems and may require addressing the cause beyond just surface repair.
- Expansion/contraction cracks: These cracks appear in a repeating pattern and result from temperature fluctuations causing the concrete to expand and contract.
- Stress cracks: These diagonal cracks are caused by weight bearing down on the concrete at an angle, such as from tree roots or uneven settling.
Understanding the cause is crucial. For example, addressing a stress crack from tree roots would involve removing the root source before repairing the crack itself.
When to DIY and When to Call a Professional
The severity of the crack and your DIY comfort level determine whether to tackle the job yourself or call a professional. Here’s a general guideline:
- DIY-friendly: Hairline cracks, small settlement cracks, and expansion/contraction cracks that don’t compromise the sidewalk’s integrity can be addressed with readily available repair materials.
- Call a professional: Extensive cracks, cracks exceeding 1 inch wide, cracks caused by foundation problems, or cracks accompanied by uneven slabs are best left to experienced concrete contractors like Hi-Tech Construction NY. We have the expertise, equipment, and materials to handle complex repairs and ensure a long-lasting solution.
The DIY Approach: A Step-by-Step Guide for Fixing Small Cracks
Feeling confident about tackling a small crack yourself? Here’s a step-by-step guide:
Tools and Materials:
- Safety glasses and gloves
- Hammer and chisel (optional, for wider cracks)
- Wire brush or stiff broom
- Garden hose or pressure washer (optional)
- Backer rod (optional, for wider cracks)
- Concrete patching material (pre-mixed or ready-mix)
- Caulk gun (if using caulk for hairline cracks)
- Concrete sealant
- Trowel or putty knife
- Sponge or rag
- Drop cloth (optional)
Steps:
- Safety first: Wear gloves and safety glasses to protect yourself from dust and debris.
- Clear the area: Remove any furniture, plants, or debris obstructing the crack. Sweep the surrounding area to clear dirt and loose particles.
- Clean the crack: Use a wire brush or stiff broom to remove dirt, debris, and loose concrete from the crack. For deeper cracks, consider using a hammer and chisel to further widen and clean the area (consult a professional if needed).
- Prep for wider cracks (optional): If the crack is wider than ¼ inch, use a backer rod to create a deeper filling area for the patching material. Simply push the backer rod into the crack to the desired depth.
- Apply patching material: Follow the manufacturer’s instructions for mixing pre-mixed or ready-mix concrete patching material. Fill the crack completely, ensuring the patch sits slightly above the surrounding surface.
- Smooth and level: Use a trowel or putty knife to smooth the patch and level it with the existing sidewalk.
- Curing: Allow the patch to cure completely as per the manufacturer’s instructions. This can take anywhere from 24 to 48 hours.
- Seal the crack (optional): Once the patch is fully cured, apply a concrete sealant following the manufacturer’s directions. This adds an extra layer of protection against water damage and future cracking.
- Cleaning Up: Wash your tools and remove any leftover materials.
Additional Tips:
- Work in sections for larger cracks, tackling them one section at a time.
- Moisten the surrounding concrete before applying the patch to improve adhesion.
- Use a damp sponge to smooth the final coat of the patch before it dries completely.


Leave a Reply